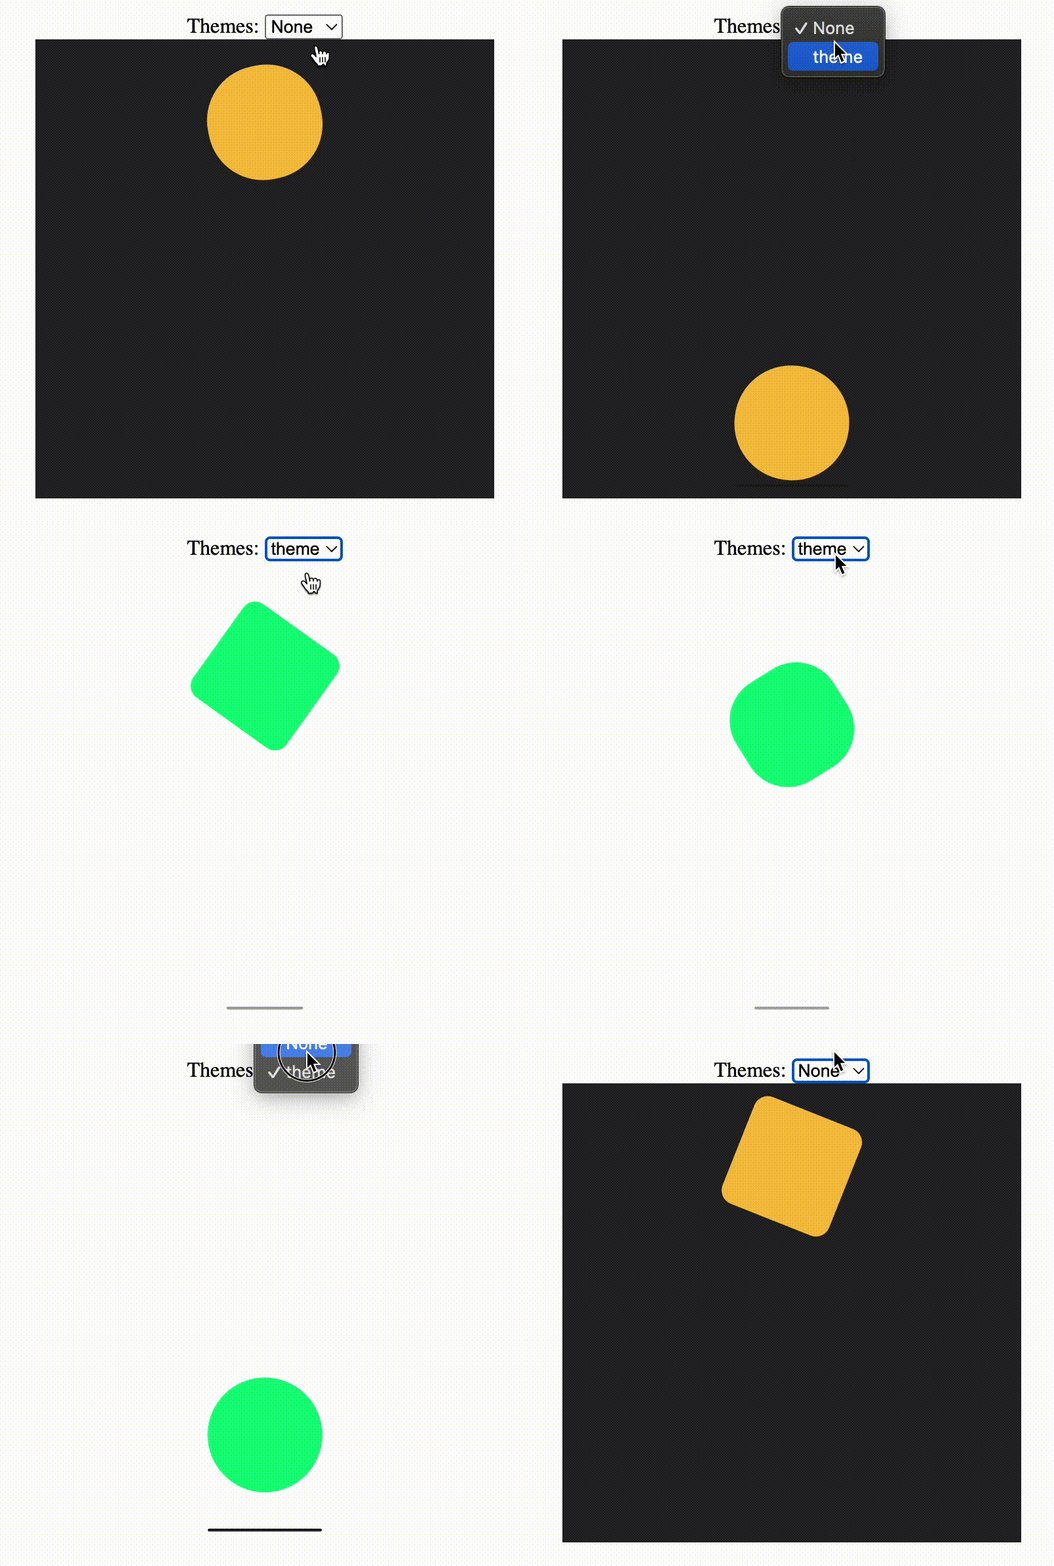
Theming

dotLottie theming is a powerful feature that allows you to customize your Lottie animations by changing animated properties such as colors, sizes, and more. This guide explains how theming works in dotLottie and how you can apply themes to your animations.
What is dotLottie?
Before diving into theming, it’s essential to understand what dotLottie is. dotLottie is a packaging format for Lottie animations that makes it easy to bundle, share, and use animations across various platforms. A dotLottie file is essentially a zip file containing your animation files (in JSON format) and a manifest.json file. It can also include a themes folder for theming purposes.
How Theming Works
Theming in dotLottie involves several key steps:
-
Exposing Animated Properties for Theming: You must first expose the properties you wish to theme in your Lottie animation by adding a slot ID to them. This makes them accessible for overriding through theming.
-
Creating a Theme File: Next, you create a JSON theme file that specifies new values for the properties you exposed. Each property is identified using the slot ID, and the new values are defined within this file.
-
Bundling Themes with Animations: Using the dotLottie-js, you bundle the theme file(s) with your Lottie animations into a single dotLottie file. This step involves specifying which animations the themes apply to.
Step 1: Expose Properties in Your Lottie Animation
To theme a property, it must first be marked for theming in the animation file by assigning a slot ID. Below is an example of how a color property can be exposed by adding a sid (slot ID) to it in the Lottie JSON:
{ ..."layers": [ ..., { "shapes": [ ..., { "ty": "fl", "c": { // a fill color animation property, with a slot ID of "ball_color" "sid": "ball_color", "k": [1, 1, 1, 1] } }, { "ty": "fl", "c": { // another fill color animation property, with a slot ID of "background_color" "sid": "background_color", "k": [0, 0, 0, 1] } } ] }]You may refer to the Lottie documentation for more information on the structure of Lottie animations.
Step 2: Create a Theme File
Once properties are exposed, you can define new values in a theme file. Here’s an example of a theme file changing the previously exposed color:
{ "ball_color": { "p": { "a": 0, "k": [0.1, 1, 0.5, 1] } }, "background_color": { "p": { "a": 0, "k": [1, 1, 1, 1] } } ...}The
pobject contains the new property values. In this case, it changes the color to a light green forball_colorand a white forbackground_color.
Step 3: Bundle Themes with Animations
You can use the dotLottie-js library to bundle your animations and themes into a dotLottie file. Here’s an example of how to add a theme to a dotLottie and apply it to an animation:
const dotlottie = new DotLottie();const themeData = {  "ball_color": {    "p": {      "a": 0,      "k": [0.1, 1, 0.5, 1]    }  },  "background_color": {    "p": {      "a": 0,      "k": [1, 1, 1, 1]    }  }};
await dotlottie  .setAuthor('LottieFiles')  .setVersion('1.0')  .addAnimation({id: 'lottie1', data: animationData})  .addTheme({id: 'theme1', data: themeData})  .assignTheme({animationId: 'lottie1', themeId: 'theme1'})  .build();
await dotlottie.download(fileName);
The created .lottie file will contain the animation and theme added, ready for use in your projects.
The manifest.json contains the information from our theme assignment:
{ "version": "1.0", "revision": 1, "keywords": "dotLottie", "author": "LottieFiles", "generator": "dotLottie-js_v2.0", "animations": [ { "id": "lottie1", "direction": 1, "speed": 1, "playMode": "normal", "loop": false, "autoplay": false, "hover": false, "intermission": 0 } ], "themes": [{ "id": "theme1", "animations": ["lottie1"] }]}Applying Themes Using dotlottie-web Player
dotLottie-web is a javascript library that allows you to play and control Lottie animations on the web. It also supports theming, enabling you to apply themes to your animations dynamically.
This allows for easy theme switching with JavaScript:
import { DotLottie } from "@lottiefiles/dotlottie-web";
const dotLottie = new DotLottie({  canvas: document.querySelector("#dotLottie-canvas"),  src: "/url/to/your/dotlottie-file.lottie",  loop: true,  autoplay: true});
document.querySelector("#apply-theme").addEventListener("click", () => {  // Apply theme with its ID as configured in the dotLottie file  dotLottie.loadTheme("theme1");});
document.querySelector("#remove-theme").addEventListener("click", () => {  dotLottie.loadTheme("");});
This simple setup enables you to dynamically apply or remove themes from your animations with user interaction.
You can also use dotlottie-ios and dotlottie-android to apply themes to your animations on mobile platforms.